 By Editorial Team
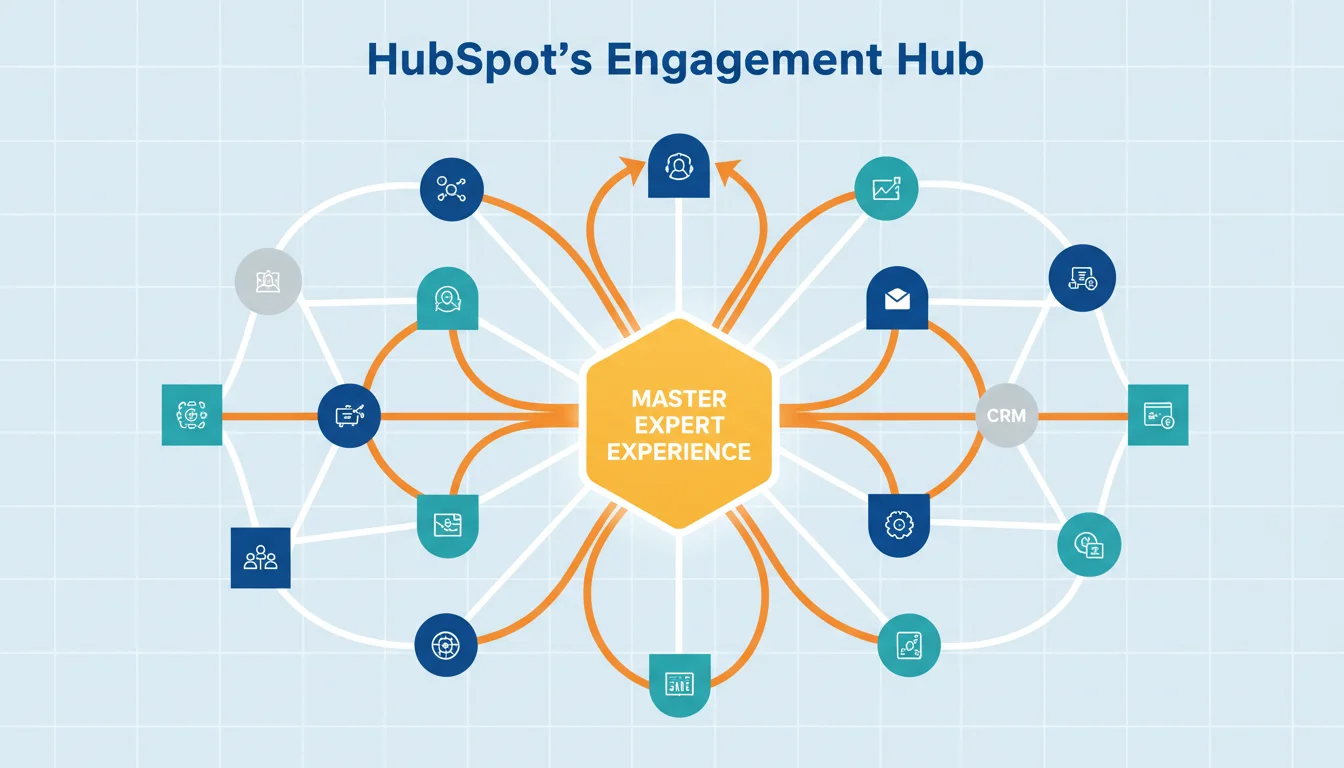
The quest for truly engaging interactive client experiences has intensified as digital platforms become the primary touchpoint for expert services. While many platforms offer basic communication, few facilitate the dynamic, personalized interactions that foster deep client relationships and drive retention. This tutorial focuses on configuring the “Engagement Hub” module within HubSpot’s Service Hub to build a truly immersive expert experience.
Key Takeaways
- Configure the HubSpot Service Hub’s Engagement Hub to centralize client-expert interactions and resource access.
- Implement personalized content paths within the Engagement Hub using smart rules based on client lifecycle stages.
- Automate feedback collection and resource delivery through custom workflows triggered by client engagement milestones.
- Integrate live chat and video conferencing directly into the client portal for immediate, contextual support.
Step 1: Initial Setup of the Engagement Hub Module
The foundation of any sophisticated digital engagement strategy starts with proper module activation and configuration. In HubSpot, the Engagement Hub is a powerful, yet often underutilized, feature that allows you to create a personalized client portal. This portal centralizes resources, communication, and scheduling, making it a foundation for an exceptional expert experience.
1.1 Accessing the Engagement Hub Settings
To begin, log into your HubSpot portal. Navigate to Service in the main navigation bar, then select Client Portal from the dropdown menu. If you haven’t activated it before, you’ll see an option to “Create Client Portal” or “Get Started.” Click this to initiate the setup wizard. The system will prompt you to name your portal. Choose a name that reflects your brand and its purpose, like “Expert Client Dashboard” or “Your Project Hub.” This name will be visible to your clients.
Pro Tip: Before naming, consider your client’s perspective. A name that clearly indicates the portal’s function, such as “Your Dedicated Support Portal,” can reduce initial friction and encourage adoption. Avoid overly technical or vague terms.
1.2 Customizing the Portal Branding and Appearance
Once the portal is active, you’ll land on the “Client Portal Settings” page. Here, you’ll find options under the “Branding” tab. Upload your company logo, select primary and secondary brand colors, and choose your preferred font pairings. These elements ensure brand consistency across all client touchpoints. On top of that, you can upload a custom favicon, which appears in browser tabs, reinforcing your brand identity. It’s a small detail, but these visual cues contribute significantly to a cohesive and professional presentation.
Common Mistake: Neglecting to customize the branding. A generic portal feels impersonal and can detract from the expert-level service you provide. Clients expect a consistent brand experience. A mismatched portal can undermine trust.
Step 2: Structuring Content and Resources
An effective Engagement Hub is more than just a communication channel. It’s a curated repository of valuable resources. Organizing this content logically ensures clients can quickly find what they need, reducing their reliance on direct inquiries and freeing up your expert’s time.
2.1 Creating Custom Pages and Knowledge Base Articles
Within the Client Portal settings, locate the “Pages” tab. Here, you can create custom pages for specific project phases, onboarding guides, or frequently asked questions. Click “Create new page,” then use the drag-and-drop editor to add text, images, videos, and downloadable files. For extensive documentation, integrate your HubSpot Knowledge Base. Navigate to Service > Knowledge Base, create relevant articles, and then link them directly within your portal pages. This approach centralizes information, preventing clients from searching across multiple platforms.
According to a HubSpot report, companies that prioritize customer education see a 15% increase in customer satisfaction. This suggests that providing accessible, well-organized resources directly contributes to a better client experience.
2.2 Implementing Smart Content for Personalization
HubSpot’s smart content features allow you to tailor the portal experience based on client properties. Under the “Pages” tab, when editing a custom page, look for the “Smart Content” option in the module settings. You can set rules to display different content blocks, images, or even entire pages based on a client’s lifecycle stage (e.g., “New Client,” “Active Project,” “Completed Project”), their industry, or custom properties you’ve defined. For instance, a new client might see an onboarding checklist, while an active client sees project progress reports and relevant case studies.
Expected Outcome: Clients receive information that is directly relevant to their current needs and stage in their journey with your expertise. This reduces information overload and makes the portal feel like a truly personalized tool.
Step 3: Integrating Communication Channels
Direct and contextual communication is paramount for an interactive client experience. The Engagement Hub consolidates various communication methods, making it simple for clients to reach out and for experts to respond efficiently.
3.1 Configuring Live Chat and Chatflows
From your HubSpot dashboard, go to Conversations > Chatflows. Create a new chatflow specifically for your client portal. Select “Website chat” as the type, then choose “Client Portal” as the target. Design your chatflow to offer common solutions, direct clients to relevant knowledge base articles, or route them to a specific expert. You can set office hours for live chat and provide an automatic fallback to email for off-hours inquiries. This ensures clients always have a way to get help, even if an expert isn’t immediately available.
I find that a well-designed chatflow, even for expert services, can deflect up to 30% of routine inquiries, allowing experts to focus on complex problem-solving. This isn’t about avoiding clients. It’s about optimizing expert time.
3.2 Embedding Meeting Links and Scheduling Tools
Within the Client Portal settings, under the “Integrations” tab, ensure your meeting scheduling tool (like HubSpot Meetings or a connected third-party calendar) is enabled. You can embed direct meeting links on custom pages or within specific knowledge base articles. For example, a “Project Review” page could include a button that says “Schedule Your Next Review” which links directly to your expert’s availability. This eliminates email tag and simplifies the scheduling process.
Pro Tip: Use personalized meeting links for each expert. This adds a human touch and ensures clients know exactly who they are scheduling time with, fostering a stronger expert-client relationship.
Step 4: Automating Engagement and Feedback
Automation transforms a static portal into a dynamic engagement engine. By setting up workflows, you can proactively deliver value, gather feedback, and guide clients through their journey without constant manual intervention.
Navigate to Automation > Workflows. Create a new workflow from scratch. Choose a trigger like “Contact property is known” (e.g., client lifecycle stage changes to “Project Kicked Off”) or “Form submission” (e.g., client requests a specific resource). For the action, select “Send email” or “Send in-app notification” within the client portal. Attach relevant documents, links to new knowledge base articles, or project updates. This ensures clients receive timely and pertinent information precisely when they need it.
For example, if a client completes a specific module in their project, an automated workflow can send an email containing a link to the next module’s resources or a survey asking for feedback on the completed section.
4.2 Implementing Feedback and Survey Mechanisms
Within the Client Portal, under the “Settings” tab, you’ll find “Feedback Surveys.” Create a new survey using HubSpot’s built-in tools (e.g., NPS, CSAT, or custom surveys). Design short, targeted surveys to appear at key milestones, such as after a project phase completion or a significant interaction. You can also embed survey links directly within your automated emails or custom portal pages. Analyzing this feedback provides invaluable insights into the client experience and areas for improvement.
Common Mistake: Over-surveying clients. Keep surveys concise and only deploy them at strategic points. Too many requests for feedback can lead to survey fatigue and lower response rates.
Step 5: Monitoring Performance and Iterating
The work doesn’t end with setup. Continuous monitoring and iteration are essential to ensure your Engagement Hub remains a valuable asset for both your clients and your expert team. Just like any digital product, it needs refinement.
5.1 Analyzing Portal Usage and Client Behavior
HubSpot provides detailed analytics for your client portal. Go to Reports > Analytics Tools, then select “Client Portal Activity.” Here, you can view metrics like page views, unique visitors, time spent on pages, and popular content. Pay attention to drop-off points or pages with low engagement. This data reveals which resources are most useful and where clients might be encountering friction. For instance, if a specific knowledge base article has a high exit rate, it might indicate unclear content or a lack of relevant follow-up information.
Expected Outcome: Data-driven insights that inform content creation, workflow adjustments, and portal layout improvements. You’ll identify what’s working and what needs attention.
5.2 Iterating Based on Feedback and Performance Data
Regularly review the feedback gathered from surveys and direct client interactions. Cross-reference this qualitative data with your portal usage analytics. If clients consistently ask for a specific resource that exists but isn’t being accessed, it might be a navigation or visibility issue. If survey responses indicate difficulty with a particular process, consider creating a dedicated tutorial page or a more intuitive chatflow. Treat your Engagement Hub as a living product. It requires ongoing attention to deliver maximum value.
Remember, the goal is to create a self-serving, yet highly personal, environment. A client who feels empowered to find answers and connect with expertise on their terms is a satisfied client. By diligently applying these steps within HubSpot’s Service Hub, your expert experience transforms into a truly interactive and impactful journey.
Creating an interactive client experience for experts requires more than just communication tools. It demands a strategically designed and continuously refined digital environment that helps clients and optimizes executive digital engagement. By focusing on personalization, automation, and data-driven iteration within platforms like HubSpot, experts can build deeper relationships and deliver superior service.
What is the primary benefit of using HubSpot’s Engagement Hub for expert services?
The primary benefit is centralizing all client-expert interactions, resources, and communication into a single, personalized portal, which enhances the client experience, reduces administrative overhead, and encourages stronger relationships.
How can I ensure my Engagement Hub content is personalized for each client?
You can use HubSpot’s smart content rules within your custom portal pages. These allow you to display different content blocks, images, or even entire pages based on client properties like their lifecycle stage, industry, or specific project status.
Can I integrate live chat directly into the client portal?
Yes, you can configure HubSpot chatflows specifically for your client portal. This allows clients to initiate live chat conversations, receive automated answers, or be routed to an expert directly from their personalized hub.
What kind of analytics are available for monitoring the Engagement Hub’s performance?
HubSpot provides “Client Portal Activity” reports under Analytics Tools, offering metrics such as page views, unique visitors, time spent on pages, and popular content. These insights help you understand client behavior and optimize the portal.
How often should I update or iterate on my Engagement Hub’s design and content?
You should view your Engagement Hub as a living product that requires ongoing attention. Regularly review performance data and client feedback (e.g., monthly or quarterly) to identify areas for improvement and ensure the portal remains relevant and valuable.


